
Render
Render is a cloud platform as a service supporting several programming languages. Render is one of the few multi-language platforms which can host application servers for free without a credit card!
We shall set up render to auto deploy our application using git. First you need to fork the template repository into your github account. Start by following the link below.
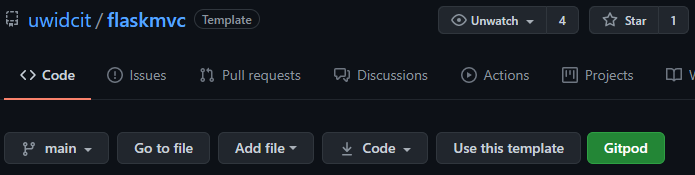
Make sure you're logged into github then click the "Use this template" button.
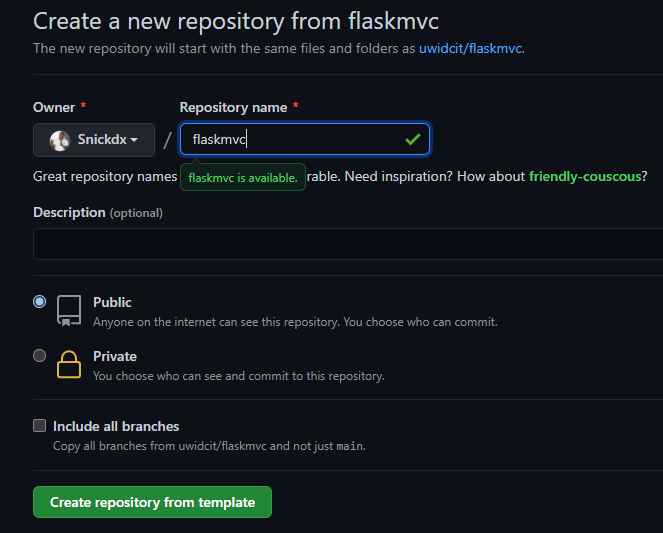
Provide repository name then click on the "Create repository from template" button
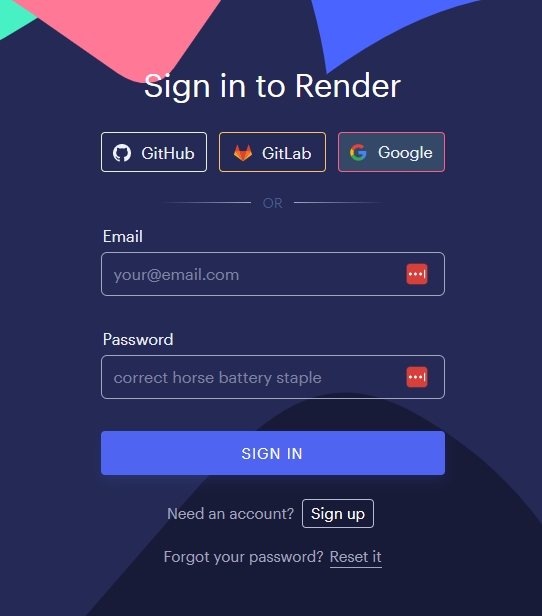
Next sign into render with your desired auth provider. It's preferred if you use GitHub since we'd be asking render to deploy our repository, but, this can be configured in the account if you prefer to sign in with another provider.
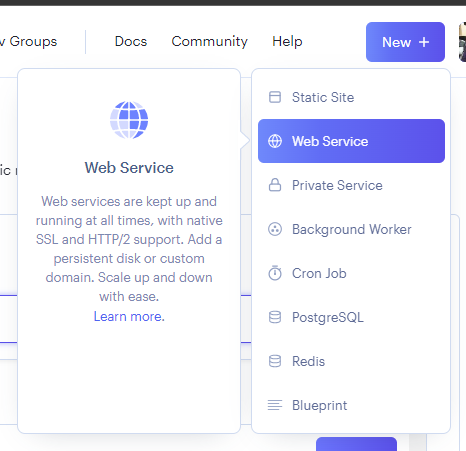
Now create a new web service.

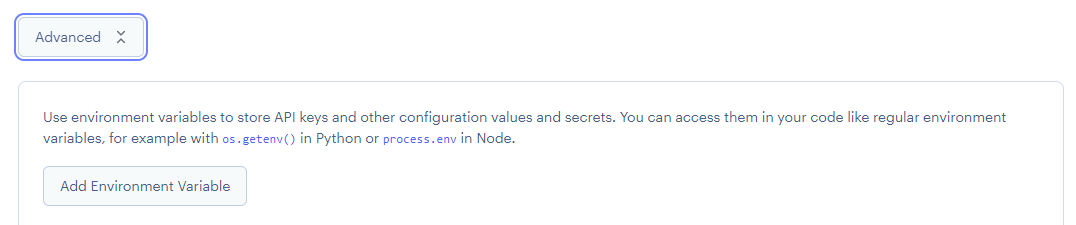
Search for your newly created repository. Then scroll down to the advanced options.
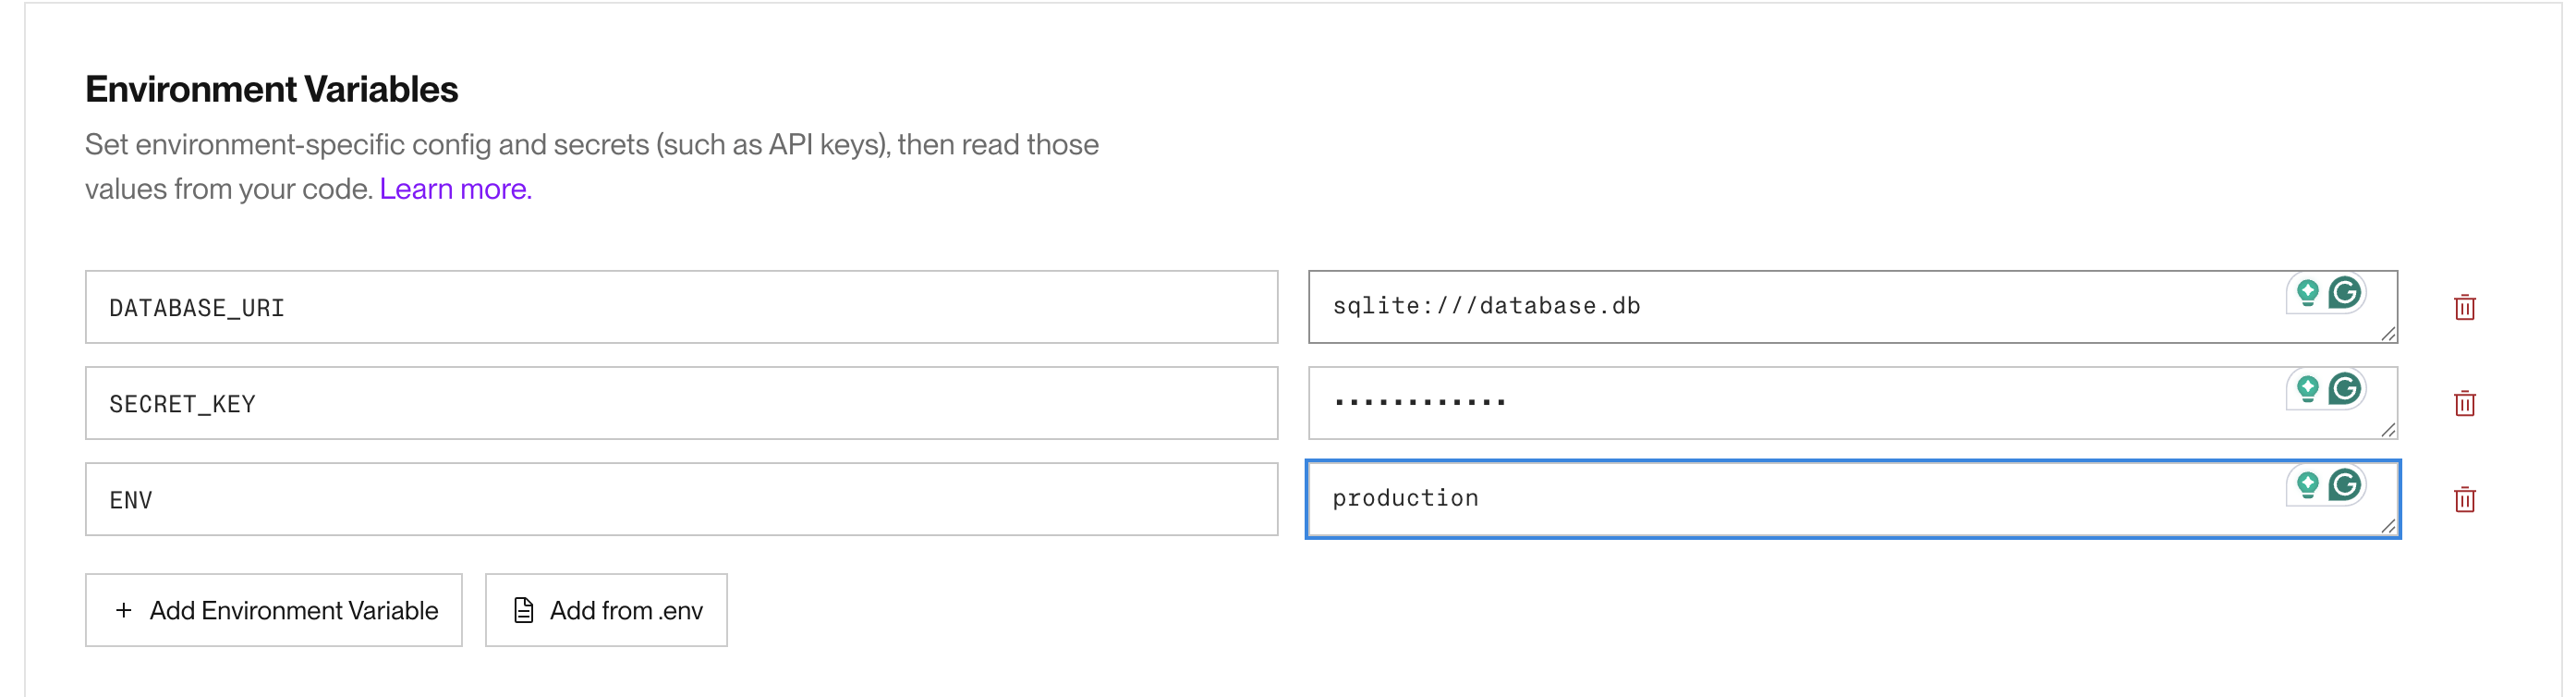
Add the following environment variables so the flask application can be configured accordingly.
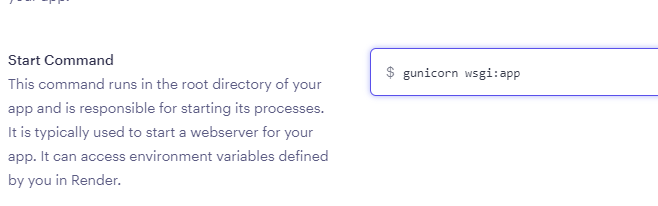
Ensure the start command is set to fastapi run --host 0.0.0.0 --port 10000
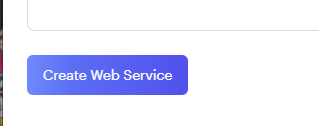
Finally create your web service.
After the web service is created, render would attempt to clone the code then run the build and launch commands specified in the previous step.
After it has completed you can then open your application at the url given.
The application currently uses an sqlite database however the files of the application are destroyed when it goes to sleep so the data will not persist between sessions.
You can create a postgres database on render, but, we need to update our application to connect to postgres first!
Update pyproject.toml and add ensure "psycopg2-binary" is included in the list, if not, add it. 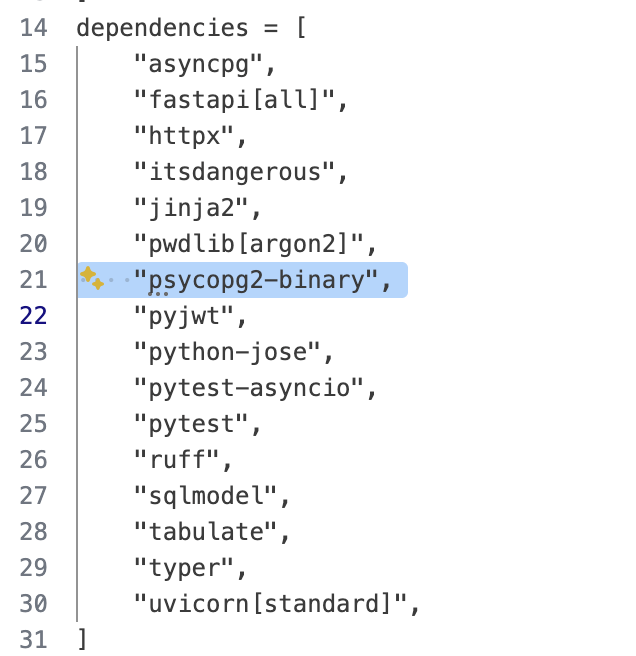
THen continue as below 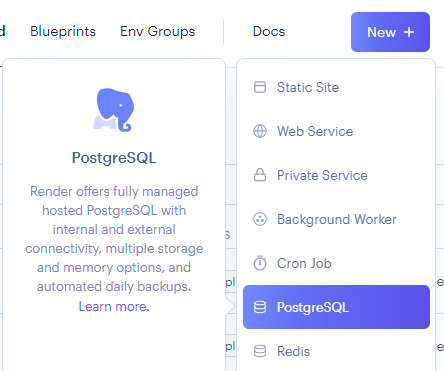
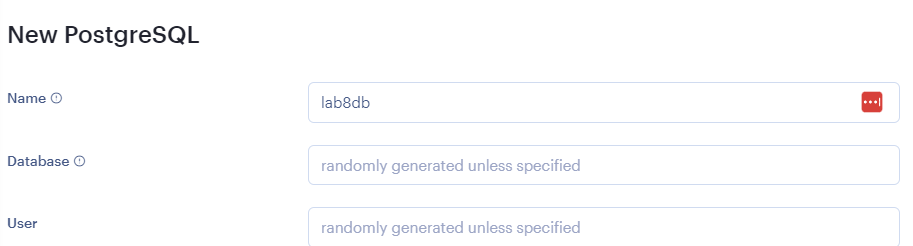
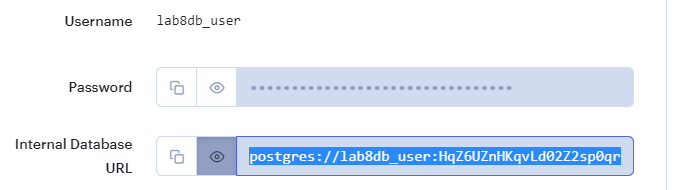
Give it a name then create the database.
After it is created you can copy your database url.
Then navigate to your web service from the dashboard. 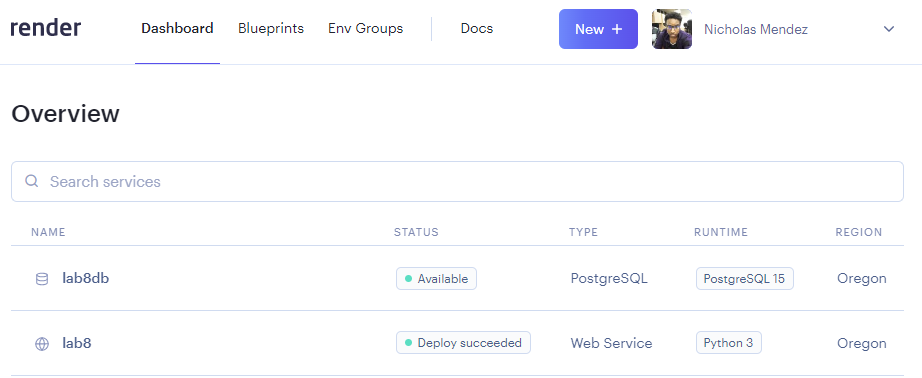
Then to the environment settings of your web service and update your database url environment variable to the previously copied url.

This should trigger a new build. 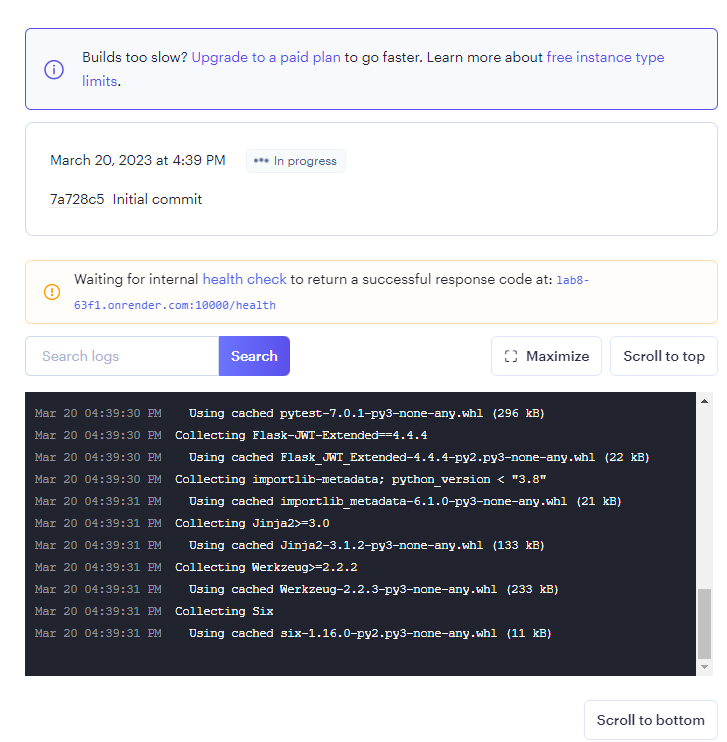
Now that your repository is deployed you may try adding to the codebase and deploying new features. First clone your repository.
Creating a branch
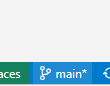
In VSCode editor environments you can create a branch by clicking the branch icon on the bottom left.
Then clicking create new branch and entering a branch name.

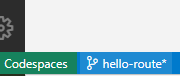
You should see that you are now working on the newly created local branch.
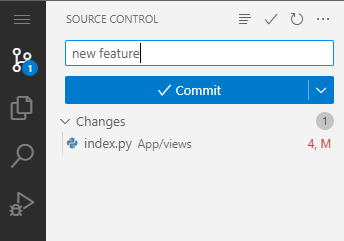
When making a change to the code you can navigate to the source control view as shown below, stage your changes and create a commit with a commit message.
Then click on publish branch to push your changes to the repo.

Making a pull Request
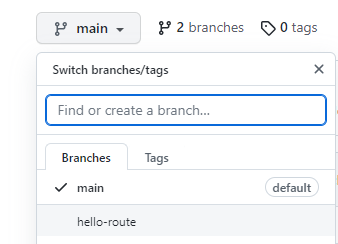
Now navigate to your repo on github.com. You can then switch to your newly created branch.
Then open a pull request. 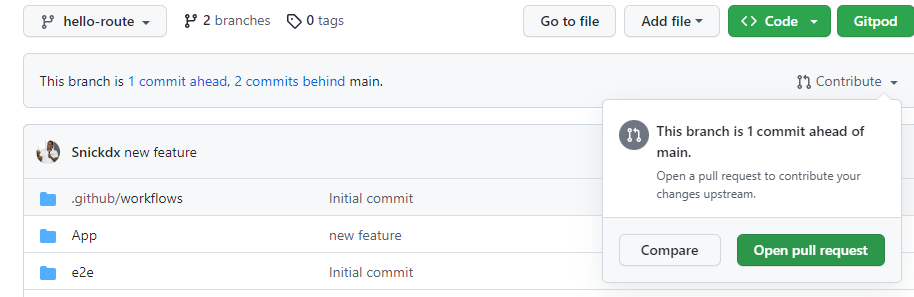
Give a meaningful name to your pull request. 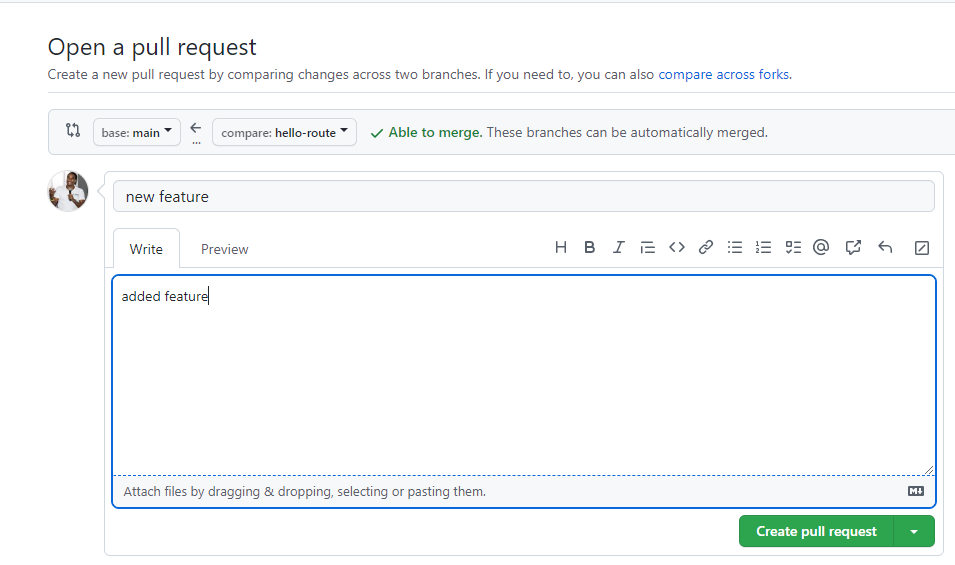
Then finalize the creation. At this point another team member would review the changes of your pull request and decide to merge your branch with the main branch.
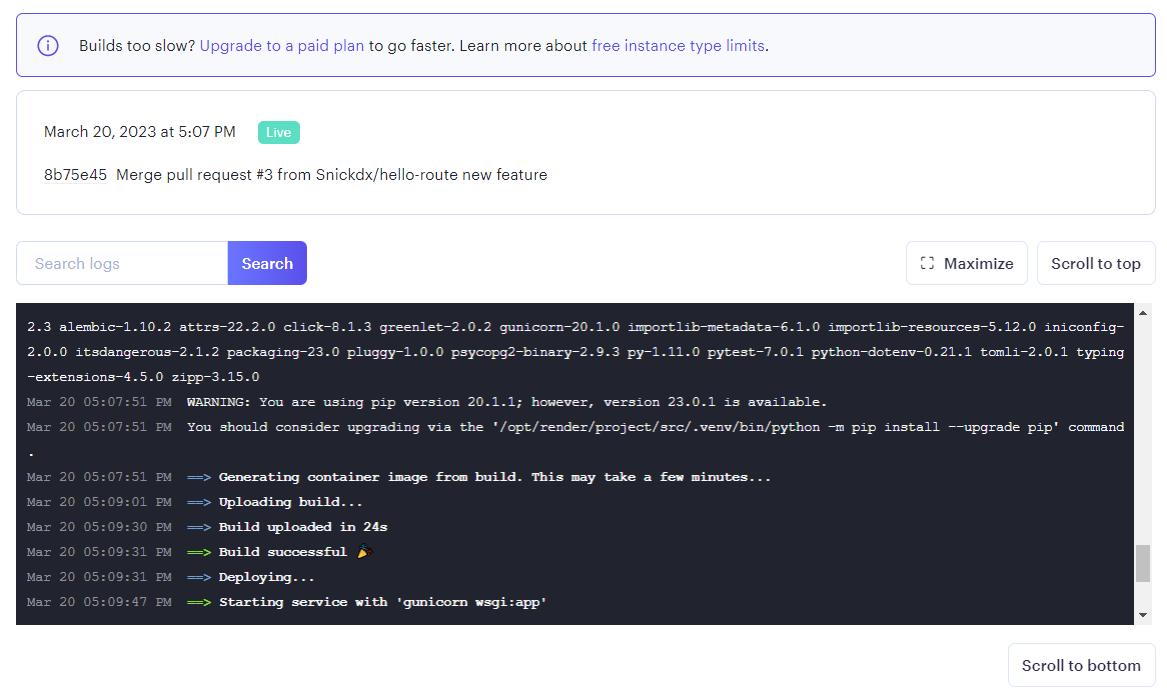
After the merge is completed render would auto deploy the new changes which you will be able to test in production.
And that's how you can deploy a fastapi application on render and manage new contributions using source control.
Change the menu item that says "Users" to "Todos" and implement the functionality to load the user todos
Complete the UI for the Todos endpoint.